For a long time the Codestyling Localization plugin was the most popular and most convenient plugin in order to translate WordPress themes and plugins. But since the plugin isn’t available anymore, great alternatives to Codestyling Localization unfortunately are very rare.
In this tutorial we will show you how to translate WordPress themes by using the free and currently most suitable translation plugin Loco Translate. If you are using one of our WordPress themes, then please have a look at the language files within the
1 | /languages |
folder of your theme to check if the translation for your language already exists, because we usually already have added several different language files for many of our WordPress themes.
1 – Install & activate Loco Translate #
Before you can translate your WordPress theme, please install the Loco Translate plugin through your WordPress dashboard. Simply navigate to Plugins, click Add New and search for the Loco Translate plugin through the available search field. After you have installed and activated the plugin, you’ll see the Loco Translate icon listed in your dashboard.
2 – Overview of available settings & options #
When you click on Loco Translate in your WordPress dashboard, there are two options available: Manage translations and Translation options. Under Manage translations you can actively translate your WordPress themes and plugins right within your browser; and when you navigate to Translation options you can adjust further settings (e.g. compiling .mo files or backing up .po files). However, usually it’s best and recommended to keep the pre-configured settings of the Loco Translate plugin, in case you are not familiar with the particular functionality.
3 – Create & name a new language file #
You can manage your translations under Loco Translate => Manage translations. There you will find an overview of all available language files for the WordPress themes you have installed. Search for the theme you want to translate and click New language to create a new language file. To name the language file you can either select your language from the drop-down menu or manually enter the locale of the particular language. For further reference, please see the list of languages you can use in WordPress (including the locales for each language).

4 – Select correct folder to save translations #
Before you can start translating, you need to determine where to save your WordPress theme translations. You can choose between two options: You can either save the translations within the languages folder e.g.
1 | /themes/mh-magazine/languages |
of your WordPress theme (please note that your translations might/will be lost after theme updates) or you can save them within the global theme languages directory of WordPress
1 | /wp-content/languages/themes |
, which prevents losing translations after theme updates.
5 – Start your WordPress theme translation #
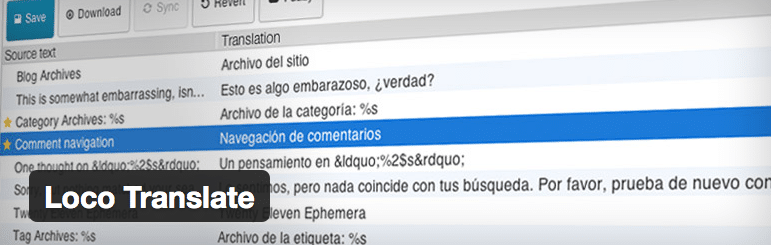
After you’ve completed the translation file settings, you can start to translate your WordPress theme into your local language by clicking the blue Start translating button. You can translate the full theme or only certain strings of the particular WordPress theme. The translation screen is split into two sections: Within the upper section you can see the original default strings in english language and within the lower section you can type in the new translation for each string based on the language you’ve chosen. Click the Save button to secure your translation as soon as you are done.

6 – Change language of your WordPress installation #
To activate and use the new language files which you just have translated, you need to change the language of your WordPress installation accordingly to that particular language – in case you haven’t done that earlier. Please navigate to Settings => General in your WordPress dashboard and switch to your local language. WordPress will then automatically use your newly created language files to display the translated strings of your WordPress theme accordingly.
Help & support for Loco Translate #
Using Loco Translate to translate WordPress themes (and plugins) is very convenient as it takes care of all technical aspects regarding file creation, synchronization and more. In case you have further questions about the handling, settings or advanced usage of Loco Translate, please see their FAQ section or contact the plugin developers directly through their support forum.